
Contents
The fastest response after water damage is often the one that prevents the worst loss. You need to stop the source, make the area safe, and document everything before you remove standing water and start drying walls and floors. Hidden moisture can linger long after surfaces look dry, and that’s where mold begins. The right next steps can change the outcome, especially when the damage seems minor at first.
Key Takeaways
- Stop the water source immediately and shut off electricity if water reached outlets or appliances.
- Make the area safe by avoiding damaged floors, wearing protective gear, and keeping everyone out if structure seems unstable.
- Document all damage with photos, notes, dates, and receipts before removing or cleaning items.
- Remove standing water quickly and dry the area with fans, dehumidifiers, and ventilation if safe.
- Call a water damage professional if the area is large, contaminated, or still feels damp or smells musty.
Stop the Water Damage Source
If it’s safe to do so, shut off the water at the source right away to prevent further damage.
Then close the main supply valve, or isolate the fixture valve if the leak is limited to one appliance. You’re taking the first critical step in what to do after water damage, and that action helps protect your home, your belongings, and your next repair choices.
If water keeps flowing, call a plumber or utility provider immediately and tell them exactly where the loss is coming from.
Turn off the affected appliance only if you can reach its control without delay. Stay focused on stopping active flow, because every minute matters.
Once the source is controlled, you can move forward with confidence and begin the rest of the recovery process.
Make the Area Safe First
Before you step back inside, make sure the area is safe to enter.
Shut off electricity at the breaker if water reached outlets, appliances, or wet floors, and don’t touch switches with damp hands. If you smell gas, leave immediately and call your utility provider.
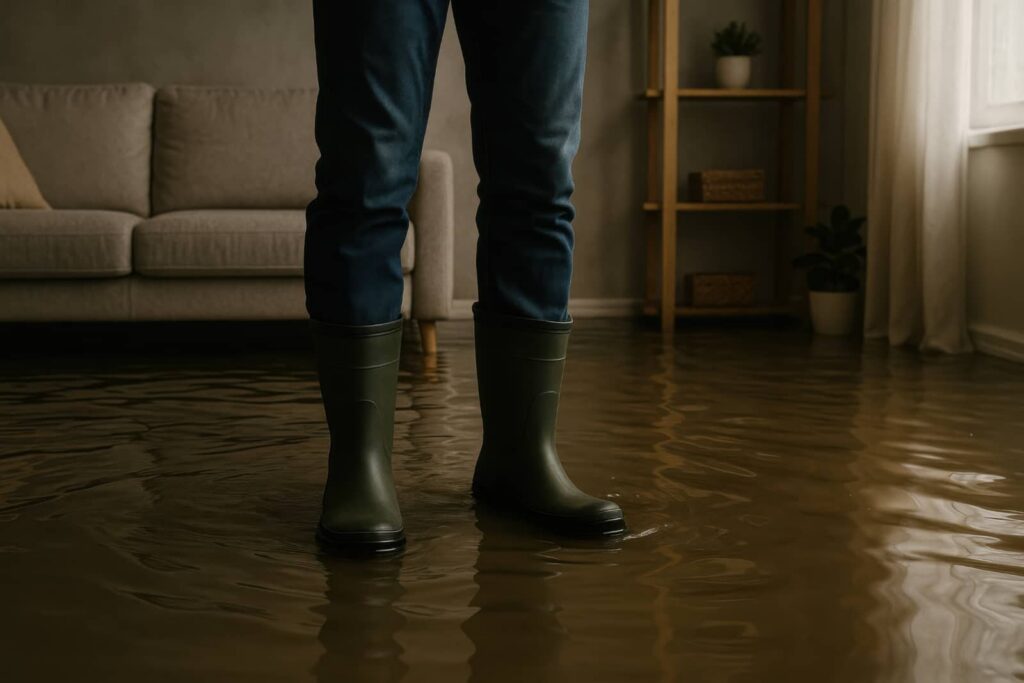
Wear rubber boots, gloves, and a mask to limit exposure to contaminated water, dust, and mold spores. Open windows and doors only if it’s safe, so you can improve airflow and reduce humidity.
Check ceilings, walls, and flooring for sagging, cracking, or soft spots before walking through. If you see structural damage, keep everyone out and wait for a qualified professional.
You’re not handling this alone; a careful first pass protects your home and helps your recovery move forward safely.
Document Water Damage for Insurance
Once the area is safe, start documenting the water damage for your insurance claim. Take wide photos of every affected room, then capture close-ups of stained drywall, warped flooring, soaked belongings, and any visible source points.
Record date, time, location, and a brief description of each item, including brand, age, and estimated value when you can. Keep damaged materials untouched until your insurer or adjuster reviews them, unless they create a safety issue.
Save receipts for emergency supplies, hotel stays, and repairs you authorize. Back up images and notes in cloud storage and email copies to yourself.
Clear, organized records help your claim move faster and show you’re handling the situation with the care your home community deserves.
Remove Standing Water Fast
You should remove standing water immediately with pumps, wet vacuums, or other fast extraction equipment to limit absorption into flooring and structural materials.
Once the visible water is gone, you need to dry hidden moisture in walls, under floors, and inside cavities with targeted airflow and dehumidification.
Quick extraction and thorough drying reduce the risk of swelling, corrosion, and mold growth.
Fast Water Extraction
Act quickly to remove standing water, because every minute it remains can increase damage to floors, walls, and contents.
Use a wet/dry vacuum, pump, or mop to pull water from the largest areas first, then work toward edges and low spots. If the water is deep or widespread, shut off power to affected rooms and call a water-removal team so you’re not handling unsafe conditions alone.
Move portable items to a dry, secure space, and keep traffic off saturated surfaces to prevent spread and structural strain. As you extract water, empty containers often and check for hidden puddles under furniture.
Fast removal limits swelling, staining, and corrosion, and it helps your home feel stable again while you prepare for the next restoration step.
Drying Hidden Moisture
After the visible water is gone, focus on hidden moisture because it can keep damaging materials long after the floor looks dry.
You should pull baseboards, open cabinet doors, and move furniture to expose trapped dampness. Aim fans across wet surfaces, run a dehumidifier, and keep indoor air moving with HVAC if it’s safe.
Check under rugs, behind appliances, and inside wall cavities with a moisture meter. Replace saturated insulation and any drywall that stays wet beyond 24 to 48 hours.
If you smell mustiness or see swelling, call a restoration pro quickly. You’re not handling this alone; a careful drying plan protects your home, reduces mold risk, and helps your family get back to normal faster.
Dry Out Water-Damaged Walls and Floors
Start drying water-damaged walls and floors as soon as the area is safe and the source of moisture is under control. Open windows if weather helps, and run fans to move air across surfaces. Use dehumidifiers to pull moisture from the air and speed evaporation.
Remove wet rugs, baseboards, and loose flooring so materials dry evenly. Keep furniture and boxes off damp areas, giving your home space to recover.
- Position airflow toward wet surfaces, not away from them.
- Lift carpet edges to dry the backing and pad.
- Wipe standing water from trim and hard floors.
- Track drying progress with daily checks.
You’re restoring your space methodically, and steady drying now lowers the chance of lasting damage.
Check for Hidden Moisture and Mold
Even when surfaces feel dry, moisture can remain trapped inside wall cavities, under flooring, and behind trim, so keep checking for hidden dampness as drying continues.
Use a moisture meter to compare affected areas with dry rooms, and watch for cool spots, discoloration, swelling, or peeling paint.
Lift baseboards only if they’re already loose, and inspect insulation, subfloor edges, and cabinet backs for dampness.
If you notice a musty odor, assume mold may be starting in concealed spaces.
Keep indoor humidity below 60% to slow growth, and run ventilation to support drying.
Wipe small patches of visible mold with detergent and water, then dry the area completely.
You’re doing the right things by staying methodical, because thorough checks help protect your home and your family.
When to Call a Water Damage Pro?
Call a water damage professional when the affected area is large, the water has soaked into walls, subfloors, or insulation, or the source involved sewage, floodwater, or other contaminated water.
You should also call if moisture keeps spreading, odors persist, or you can’t verify the full extent of damage without opening assemblies. A pro can assess hidden exposure and reduce the risk of long-term structural issues.
- Damage covers multiple rooms
- Water reached structural materials
- Contamination creates health risk
- Drying progress stalls or worsens
If you’re unsure, trust that caution protects your home and your people.
Prompt help gives your household the best chance to recover cleanly and stay safe.
What Water Damage Restoration Includes
Water damage restoration typically begins with a full inspection, followed by water extraction, drying, dehumidification, and cleaning of affected surfaces and contents.
You’ll see technicians map moisture with meters, identify hidden intrusion, and classify the loss so they can choose the right equipment and methods.
They may remove unsalvageable materials, apply antimicrobial treatments, and monitor drying until readings return to safe levels.
You’ll also get detailed documentation for your records and insurance claim.
The process aims to stabilize your home, reduce secondary damage, and restore usable spaces efficiently.
When you understand each step, you can work with the crew confidently and feel supported throughout recovery.
Restoration isn’t guesswork; it’s a structured response built to get your home back on track.
Prevent Future Water Damage Issues
You should inspect your plumbing regularly for leaks, corrosion, and loose fittings so you can catch failures before they spread.
You also need to keep gutters, downspouts, and drainage paths clear so water moves away from your home as designed.
These routine checks help reduce the chance of repeat water damage and support long-term protection.
Inspect Plumbing Regularly
Regular plumbing inspections can catch small issues before they turn into costly water damage. You can protect your home by checking exposed pipes, shutoff valves, supply lines, and fixture connections every few months.
Look for corrosion, moisture, stains, loose fittings, and abnormal pressure changes. If you notice a drip, tighten the connection or replace worn components right away.
Keep an eye on appliance hoses too, since they often fail without warning. Staying proactive helps you feel confident in your home and connected to a community of prepared homeowners.
- Inspect under sinks and behind toilets.
- Test the main shutoff valve.
- Replace brittle hoses and gaskets.
- Call a licensed plumber for hidden leaks.
Maintain Gutters And Drainage
Clean gutters and properly graded drainage help keep rainwater away from your foundation, siding, and roofline, reducing the chance of future water damage.
You should clear leaves, shingle grit, and debris from gutters at least twice a year, and after storms. Check that downspouts extend several feet from the house and discharge onto soil that slopes away, not toward walls.
If water pools near your slab, add extensions, splash blocks, or regrade the area to improve runoff. Inspect joints, elbows, and fasteners for leaks or sagging, then repair them promptly.
Keep nearby drains open, and trim vegetation that blocks flow. When your system works well, you protect your home and join the homeowners who stay ahead of costly repairs.
Wrap-Up
You can limit water damage by acting fast. Mold can begin growing within 24 to 48 hours, so every minute matters. Shut off the source, make the area safe, document losses, and remove standing water immediately. Then dry hidden spaces and call a pro if damage is extensive or contaminated. When you stay systematic, you reduce repair costs, protect your home’s structure, and lower the risk of future problems.
Recent Posts
Sewage Cleanup: A Complete Guide to Safe Property Recovery
A sewage backup is both a visible mess and an invisible hazard, and you need
Sewage Backup Cleanup: How Professionals Restore Contaminated Areas
When you face a sewage backup, professionals first document the damage, stop the flow, and
Emergency Water Damage Cleanup: What Happens When Help Arrives?
When you call for emergency water damage cleanup, the first crew on site checks the